


As a homeowner, I have come to realize the importance of paying attention to even the smallest details when it comes to maintaining and improving my living space. One area that often gets overlooked is the gap between the wall and floor. While it may seem insignificant, leaving this gap unfilled can lead to a host of problems down the line. In this article, I will discuss why filling this gap is crucial and provide a step-by-step guide on how to achieve a professional-looking finish.
Before we dive into the process of filling the gap between wall and floor, let’s first understand why it is important in the first place. When left unfilled, this gap can become a breeding ground for dust, dirt, and pests. Additionally, cold air can seep through these gaps during winter months, leading to increased energy consumption as your heating system works harder to maintain a comfortable temperature.
Filling this gap not only helps improve insulation but also enhances aesthetics by creating clean lines and preventing unsightly gaps from detracting from your overall decor. Now that we understand its significance let’s move on to discussing the tools and materials needed for this job.
Key Takeaways
- Filling the gap between wall and floor is important for both aesthetics and durability.
- Tools and materials required include a caulking gun, silicone caulk, and a putty knife.
- The step-by-step guide involves cleaning the gap, applying the caulk, and smoothing it out with the putty knife.
- Tips for achieving a professional-looking finish include using painter’s tape and smoothing the caulk with a wet finger.
- Common mistakes to avoid include overfilling the gap and not allowing enough time for the caulk to dry.
Understanding the Importance of Filling the Gap between Wall and Floor
Leaving gaps between walls and floors can lead to various problems that homeowners may not initially consider. One such issue is pest infestation; small insects or rodents can easily find their way into your home through these openings if they are left unsealed.
Furthermore, dust particles tend to accumulate in these gaps over time if they are not filled properly or regularly cleaned out. This buildup of dust not only affects indoor air quality but also creates an environment conducive for allergens such as mold spores or pollen.
In addition to addressing these potential issues with pests and allergens, filling in these gaps offers several benefits beyond practicality alone. From an aesthetic standpoint, having clean lines without visible cracks or crevices can greatly enhance the overall appearance of a room. Moreover, filling these gaps can also help improve insulation, reducing energy consumption and lowering utility bills.
Tools and Materials Required for Filling the Gap
To successfully fill the gap between the wall and floor, you will need a few essential tools and materials. The first tool you will need is a caulking gun, which allows for precise application of caulk or sealant. A putty knife is also necessary to smooth out the caulk or sealant once it has been applied.
In terms of materials, there are several options available depending on your specific needs. One common choice is caulk, which comes in various colors to match your existing decor. Another option is foam backer rod, which provides additional insulation while filling in larger gaps more effectively.
It’s important to choose high-quality materials that are suitable for your specific situation. Taking the time to select the right tools and materials will ensure a long-lasting and professional-looking finish.
Step-by-Step Guide to Filling the Gap between Wall and Floor
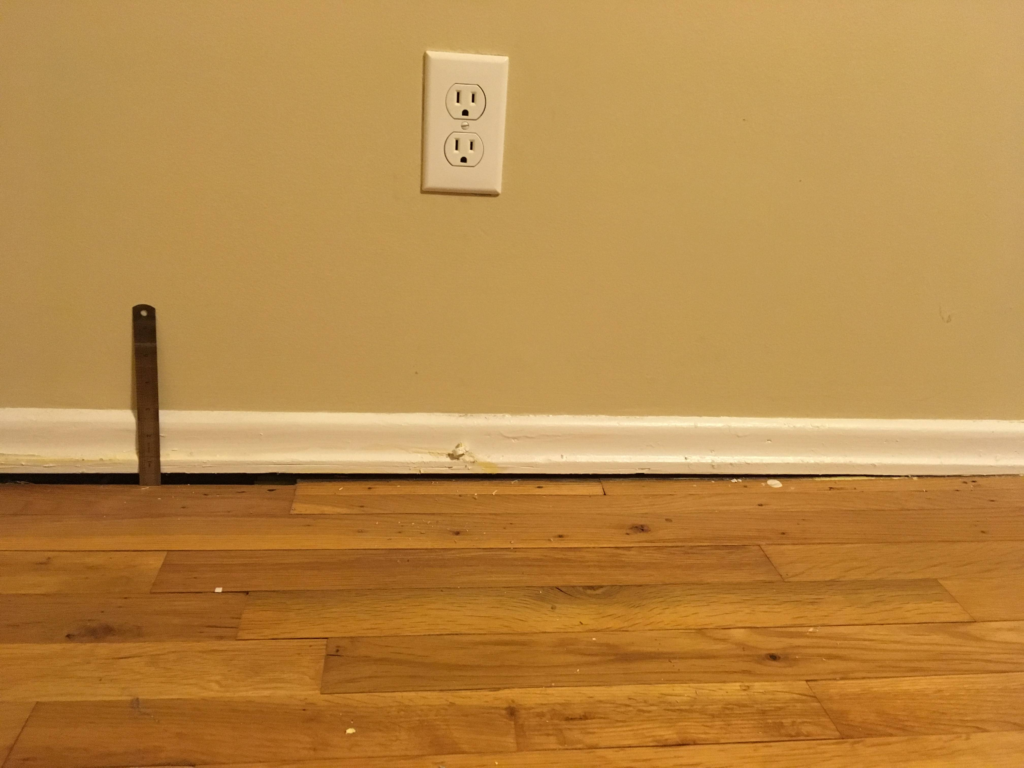
| Step 1 | Measure the gap between the wall and floor | Gap width in inches |
| Step 2 | Cut foam backer rod to fit the gap | Length of foam backer rod in inches |
| Step 3 | Insert foam backer rod into the gap | Amount of foam backer rod used in feet |
| Step 4 | Apply sealant over the foam backer rod | Amount of sealant used in ounces |
| Step 5 | Smooth out the sealant with a putty knife | Time taken to smooth out the sealant in minutes |
Now that we have discussed why it’s important to fill this gap and have gathered our tools and materials let’s move on to a step-by-step guide on how to achieve a seamless finish.
1. Preparation: Start by thoroughly cleaning out any debris or dust from the gap using a vacuum cleaner or brush.
2. Apply Backer Rod (if needed): If you have larger gaps that require additional insulation, insert foam backer rod into them until they are flush with the surface.
3. Load Caulk Gun: Load your caulking gun with caulk or sealant of your choice according to manufacturer instructions.
4. Apply Caulk: Starting at one end of the gap, apply an even bead of caulk along its length while maintaining steady pressure on the trigger.
5.Smooth Out Caulk: Use a putty knife or other suitable tool to smooth out the caulk, ensuring an even and seamless finish.
6. Repeat for Remaining Gaps: Continue this process for all remaining gaps, working in sections until the entire area is filled.
Tips for Achieving a Professional-Looking Finish
To achieve a professional-looking finish when filling the gap between wall and floor, consider implementing these additional tips:
1. Use the Right Technique: Apply steady pressure on the caulking gun trigger to ensure a consistent flow of caulk or sealant.
2. Smooth Out Excess Caulk: After applying caulk, use a damp cloth or sponge to remove any excess material before it dries.
3. Practice Patience: Allow sufficient time for the caulk or sealant to dry completely before touching or painting over it.
4. Match Colors Carefully: Choose a caulk color that closely matches your existing wall and floor colors to achieve a seamless blend.
Common Mistakes to Avoid When Filling the Gap
While filling in gaps may seem like a straightforward task, there are common mistakes that people often make which can compromise the final result.
One common mistake is using too much caulk or sealant at once, resulting in messy application and difficulty achieving a smooth finish. It’s important to apply an even bead of caulk without overdoing it.
Another mistake is not properly cleaning out debris from the gap before applying new material. This can lead to poor adhesion and an uneven appearance.
Lastly, rushing through the process without allowing sufficient drying time can result in smudging or smearing of freshly applied caulking material.
To avoid these mistakes and achieve better results, take your time during each step of the process and follow instructions carefully.
Maintaining The Filled Gap For Long-Term Durability And Aesthetics
Once you have successfully filled in the gap between your wall and floor, it’s important to maintain its durability and aesthetics for the long term.
Regular cleaning is essential to prevent dust and debris from accumulating in the gap. Use a vacuum cleaner or brush to remove any dirt or particles that may have settled over time.
In addition, periodically inspect the filled gap for any signs of wear or damage. If necessary, touch up the caulk or sealant to maintain a seamless appearance and ensure continued insulation benefits.
Filling the gap between your wall and floor may seem like a small task, but its importance should not be underestimated. By addressing this often overlooked area, you can prevent pest infestation, improve insulation, enhance aesthetics, and ultimately create a more comfortable living environment.
By following our step-by-step guide and implementing our tips for achieving a professional-looking finish, you can confidently tackle this project on your own. Remember to choose high-quality materials suited to your specific needs and take your time during each step of the process for optimal results.
So don’t let those gaps go unnoticed any longer; take action today and enjoy the benefits of a well-sealed space that not only looks great but also contributes to energy efficiency in your home.
FAQs
What is the gap between wall and floor?
The gap between wall and floor is a space that is left between the bottom of the wall and the top of the floor. It is usually created during the construction process and can vary in size.
Why is it important to fill the gap between wall and floor?
Filling the gap between wall and floor is important for several reasons. It helps to prevent drafts, insects, and moisture from entering the room. It also helps to improve the overall appearance of the room.
What materials can be used to fill the gap between wall and floor?
There are several materials that can be used to fill the gap between wall and floor, including caulk, foam backer rod, and trim molding. The choice of material will depend on the size of the gap and the desired finished look.
How do I prepare the gap between wall and floor for filling?
Before filling the gap between wall and floor, it is important to clean the area thoroughly. Remove any debris or loose material from the gap and make sure the surface is dry and free of dust.
How do I fill the gap between wall and floor with caulk?
To fill the gap between wall and floor with caulk, first, cut the tip of the caulk tube at a 45-degree angle. Apply a steady, continuous bead of caulk along the gap, making sure to fill it completely. Smooth the caulk with a caulk smoothing tool or your finger, and wipe away any excess with a damp cloth.
How do I fill the gap between wall and floor with foam backer rod?
To fill the gap between wall and floor with foam backer rod, first, measure the gap and select the appropriate size of backer rod. Insert the backer rod into the gap, making sure it fits snugly. Apply a bead of caulk over the backer rod, and smooth it with a caulk smoothing tool or your finger.
How do I fill the gap between wall and floor with trim molding?
To fill the gap between wall and floor with trim molding, first, measure the length of the gap and cut the molding to size. Apply a bead of construction adhesive to the back of the molding, and press it firmly into place along the gap. Use finishing nails to secure the molding in place, and fill any nail holes with wood filler. Sand and paint the molding to match the surrounding wall and floor.
